Stack That Ghoul
| ||||||||||||
|---|---|---|---|---|---|---|---|---|---|---|---|---|
|


Introduction[ | ]
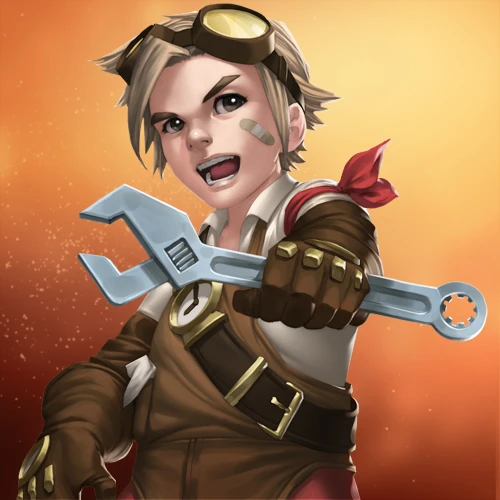
This guide is meant to show how you how effective the Squire can be when paired with other Champs, like the Tinker and and Ghoul. The Tinker and Squire control the field, while the Squire ensures the Ghoul gets fed and snowballs.
Champ Synergy[ | ]
Tinker + Squire[ | ]

Tinkers have the highest damage potential of any T1 Champ currently in the game. This comes from their Makeshift Mine ability, which is pretty straightforward: place a mine on the ground, if it blows up, it does damage to Champs on or adjacent to it. Simple in theory, actually pretty difficult to make worthwhile in practice.
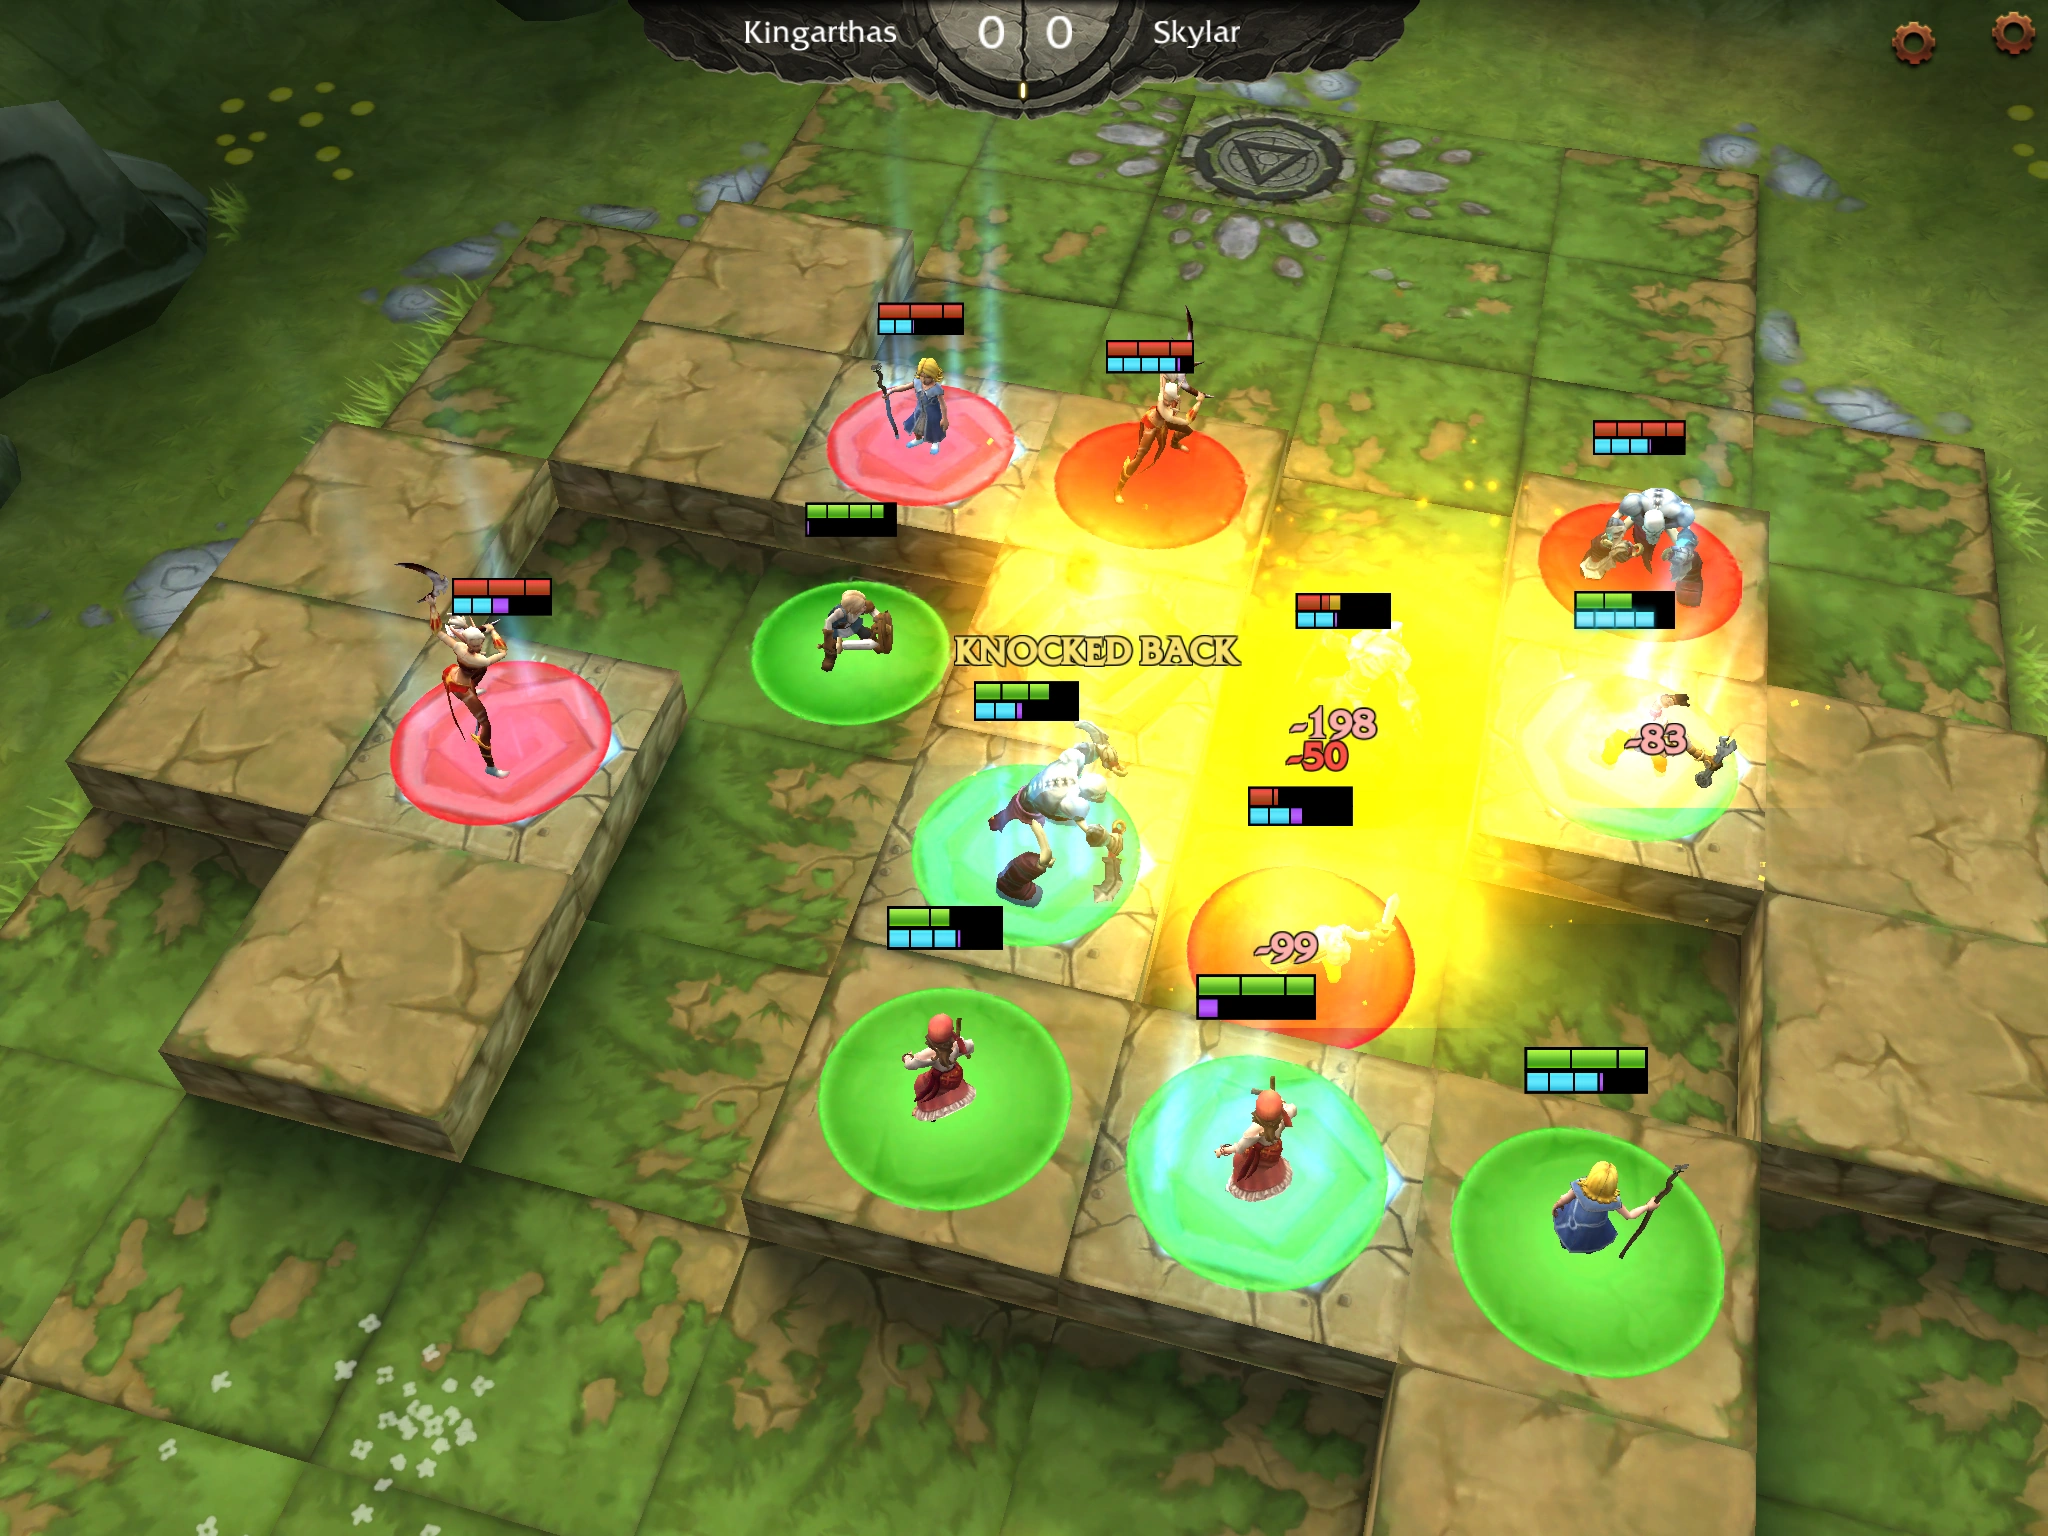
Makeshift Mine + Pushback[ | ]

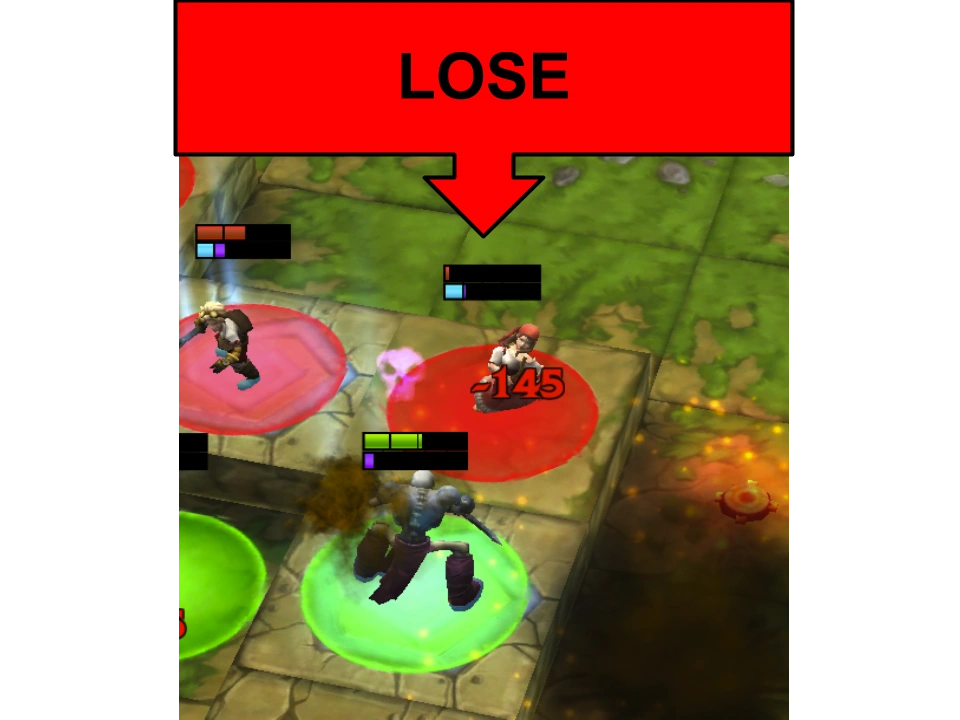
Tinker mine damage is most capitalized when the target is stepping directly on the mine. This is where Squires are essential. In most cases enemies will not be stupid enough to walk their own Champs over a mine, so a Squire's Pushback is required to force an enemy onto the mine for big damage. Think of the squire as a bully who pushes kids over, and the Tinker as the stooge who bends over behind the kid, so they trip over him, only instead of the kids tripping over the Tinker they trip over his mines.
Strikers can also accomplish the Squire role with their Grapple ability (pull enemies into mines). This method is often preferred as it is arguably easier to pull an enemy into a mine from the safety of allied lines than to push an enemy into a mine from behind enemy lines, but the result of pulling has the Striker taking adjacent mine damage. Your call.
Ghoul + Squire[ | ]
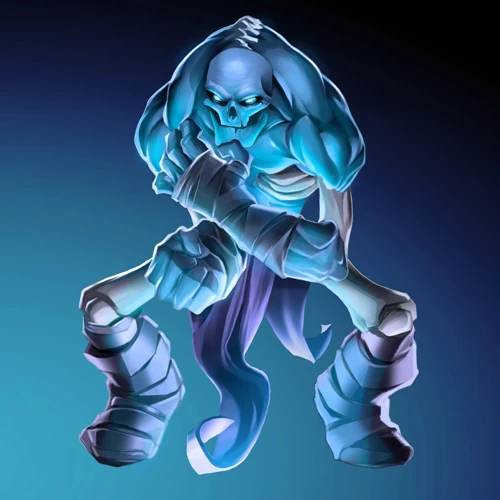
The Ghoul in this army comp (and most army comps that include a Ghoul) will act as the central figure of the strategy for one reason: the Ghoul snowballs. The Ghoul's Soul Cut ability grants the Ghoul +12 to all defensive stats and +15% to damage, whenever it gets the last hit on an enemy Champ for up to 3 stacks. These stacks are permanent until the Ghoul dies, so typically, the strat when you have a Ghoul in your army becomes: give the Ghoul 3 last hits with Soul Cut + DON'T LET YOUR GHOUL DIE.
Feast[ | ]
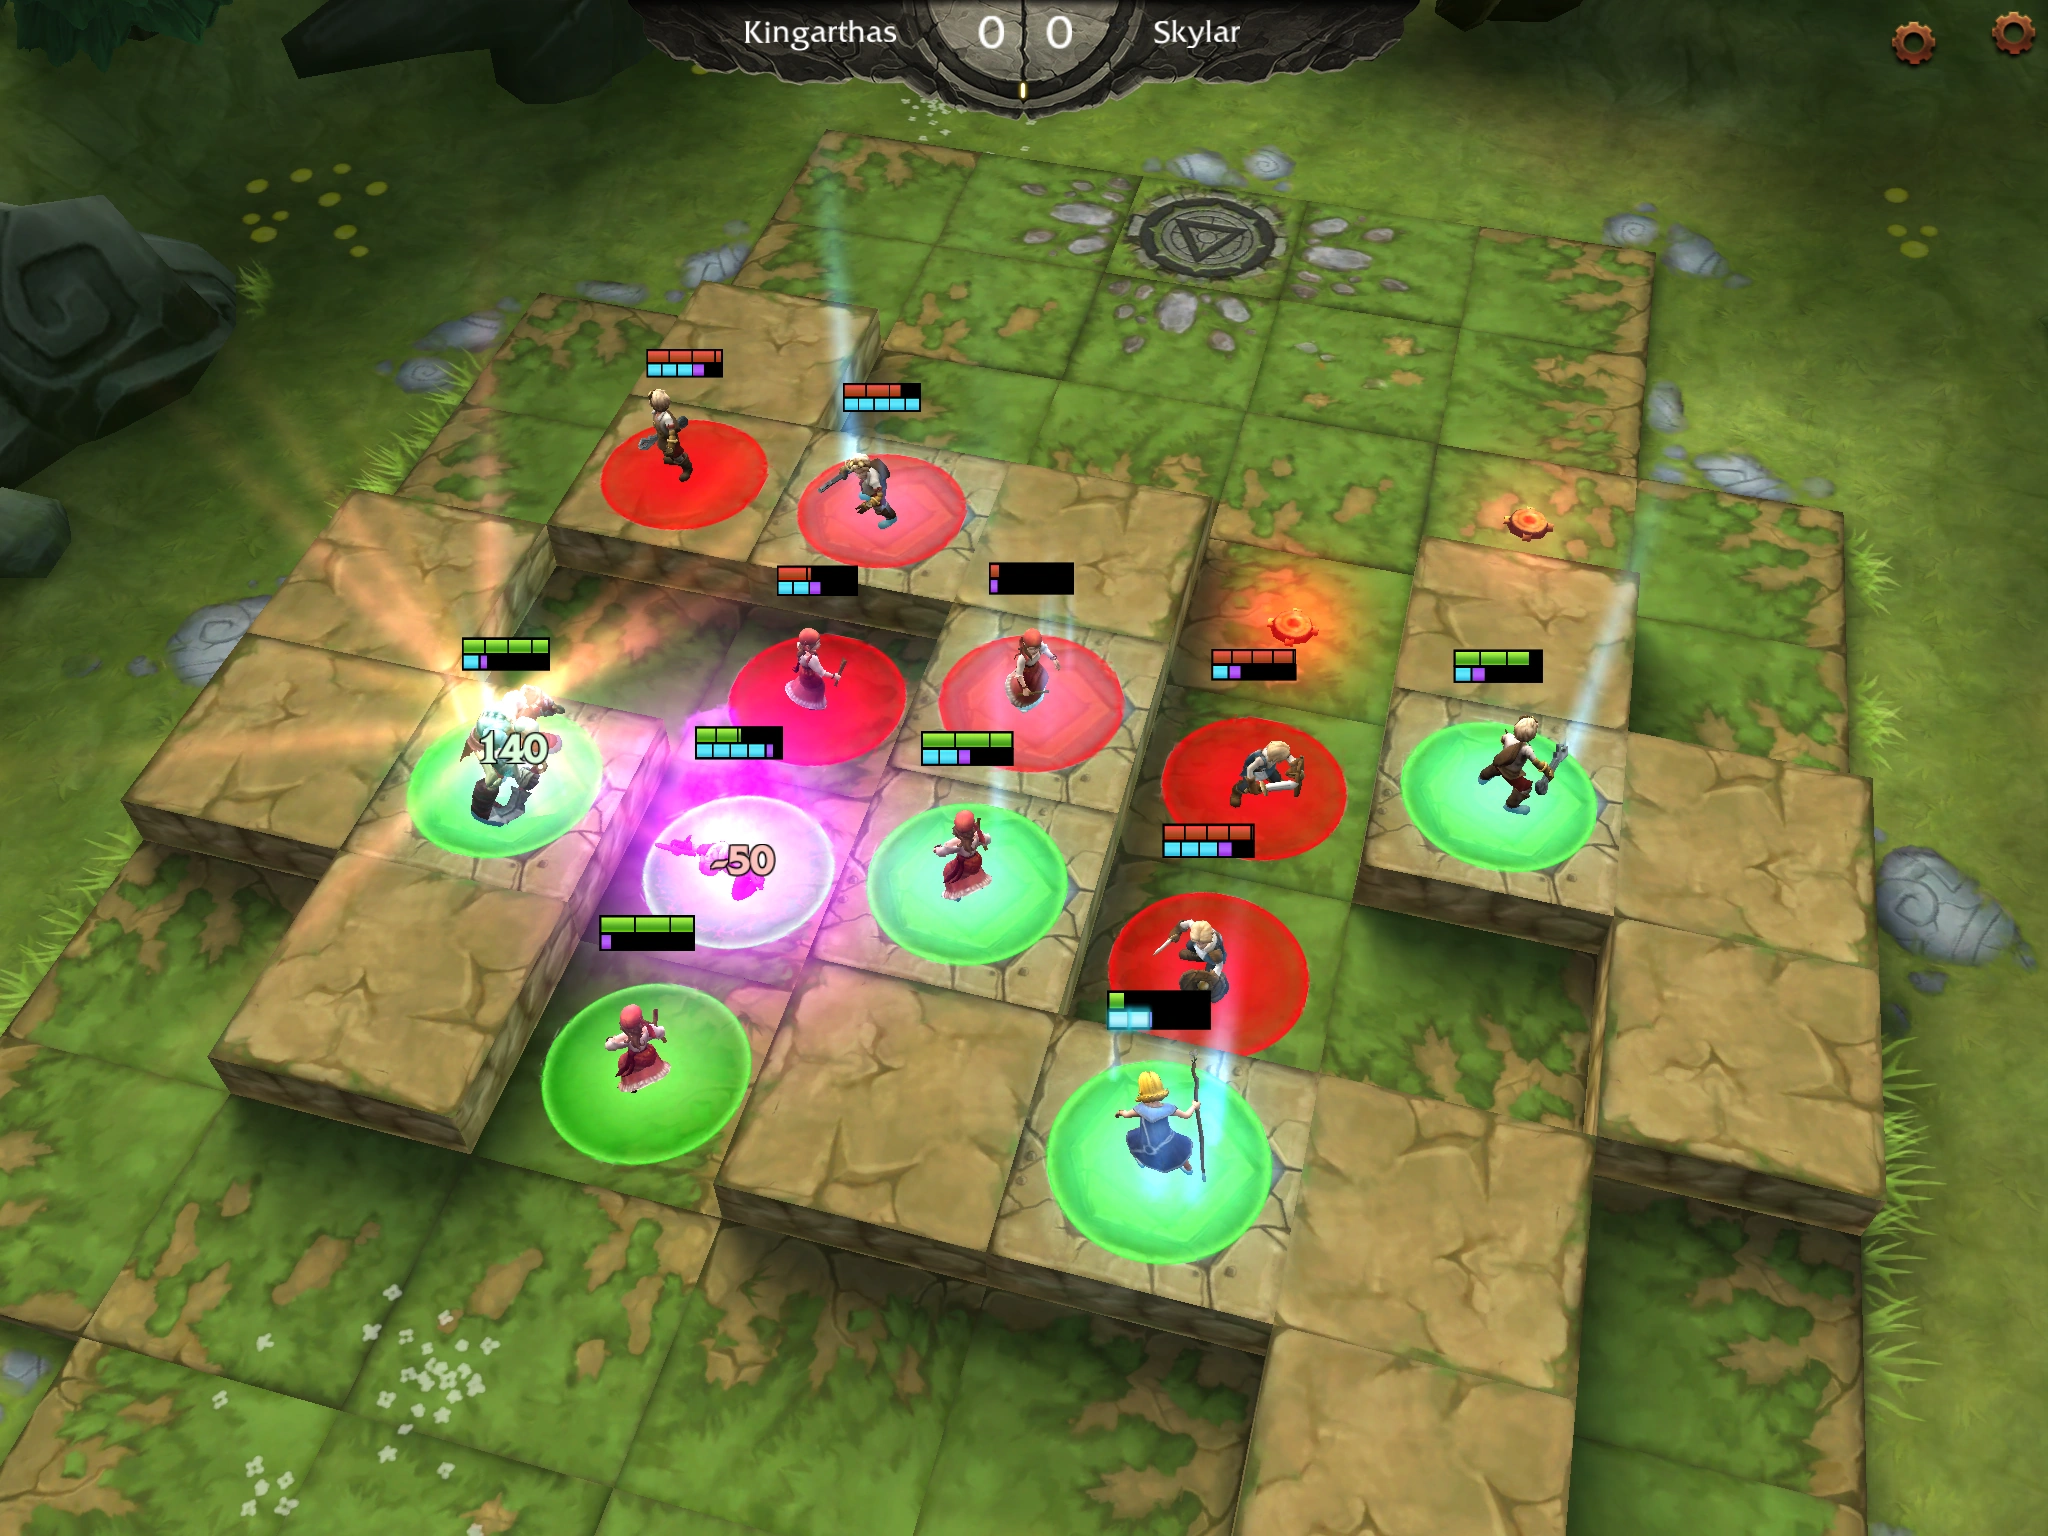
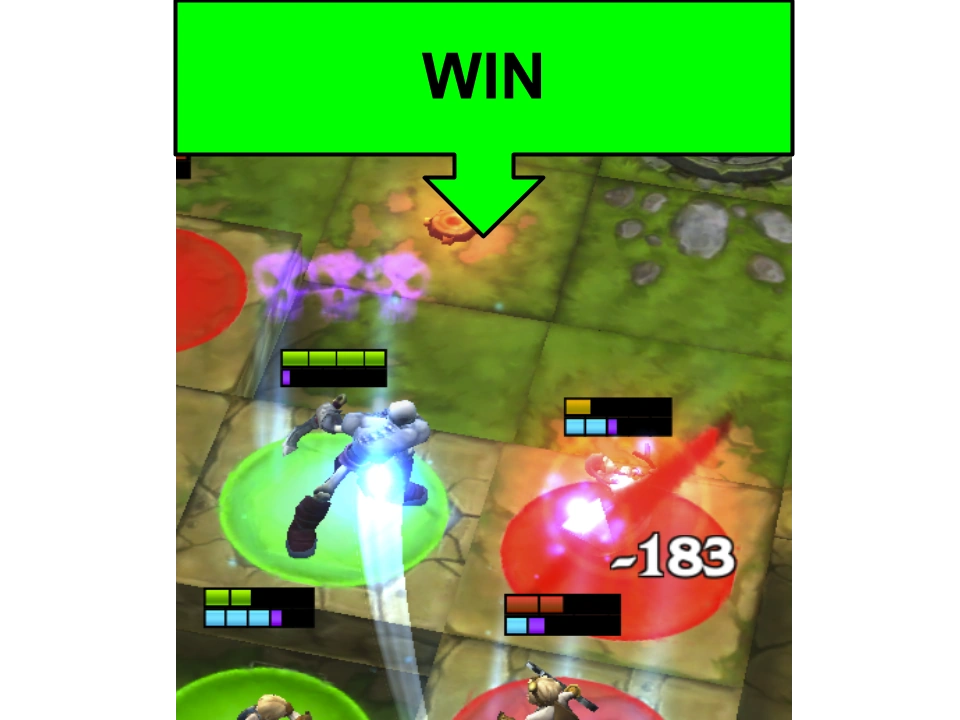
The second part of this strat is where the Squire comes in (yeah the Squire is everyone's buddy). When the Squire isn't pushing people into Tinker mines, he's generally just soaking up damage with his unparalleled defensive stats and health. Your Ghoul will eventually get to this godly level of near "unkillableness," but at the start he is much more susceptible to being nuked down before he gets a single stack from Soul Cut. To keep your Ghoul around long enough to get those last hits, you'll most likely need to keep him healed. Keep your squire near your Ghoul so the Ghoul can use its Feast ability to drain life from the Squire. The tradeoff is very favorable, as the Ghoul gets 140 health for damaging the Squire for 50 health. Most players will not think to target your Squire, as most abilities that target the Squire are a losing tradeoff, as the Squire is less of an offensive threat, and soaks up so much of the damage with his defense.
Army Layout and Combo Setup[ | ]
Obviously we want the fast moving melee Champs in the front and the slower, more frail range Champs in the back, but you also need to decide how these front and back rows should be organized.
The Ghoul is in the middle, because on most maps the front middle position will have easy access to an energy square, which is often where an enemy will be (i.e. your first Soul Cut victim). But, as long as you get him to a front energy square, he should be in a formidable position from any of the front starting location. The Ghoul is also adjacent to your Squire so he can access to that Feast, if/when he needs it.
Use Feast on the Squire[ | ]
The Squire and Tinker are on the outside, since the two typically need an enemy 'between' them to get their combo off, so the initial space between the two is actually favorable on many maps.
Pushback Into Makeshift Mine[ | ]
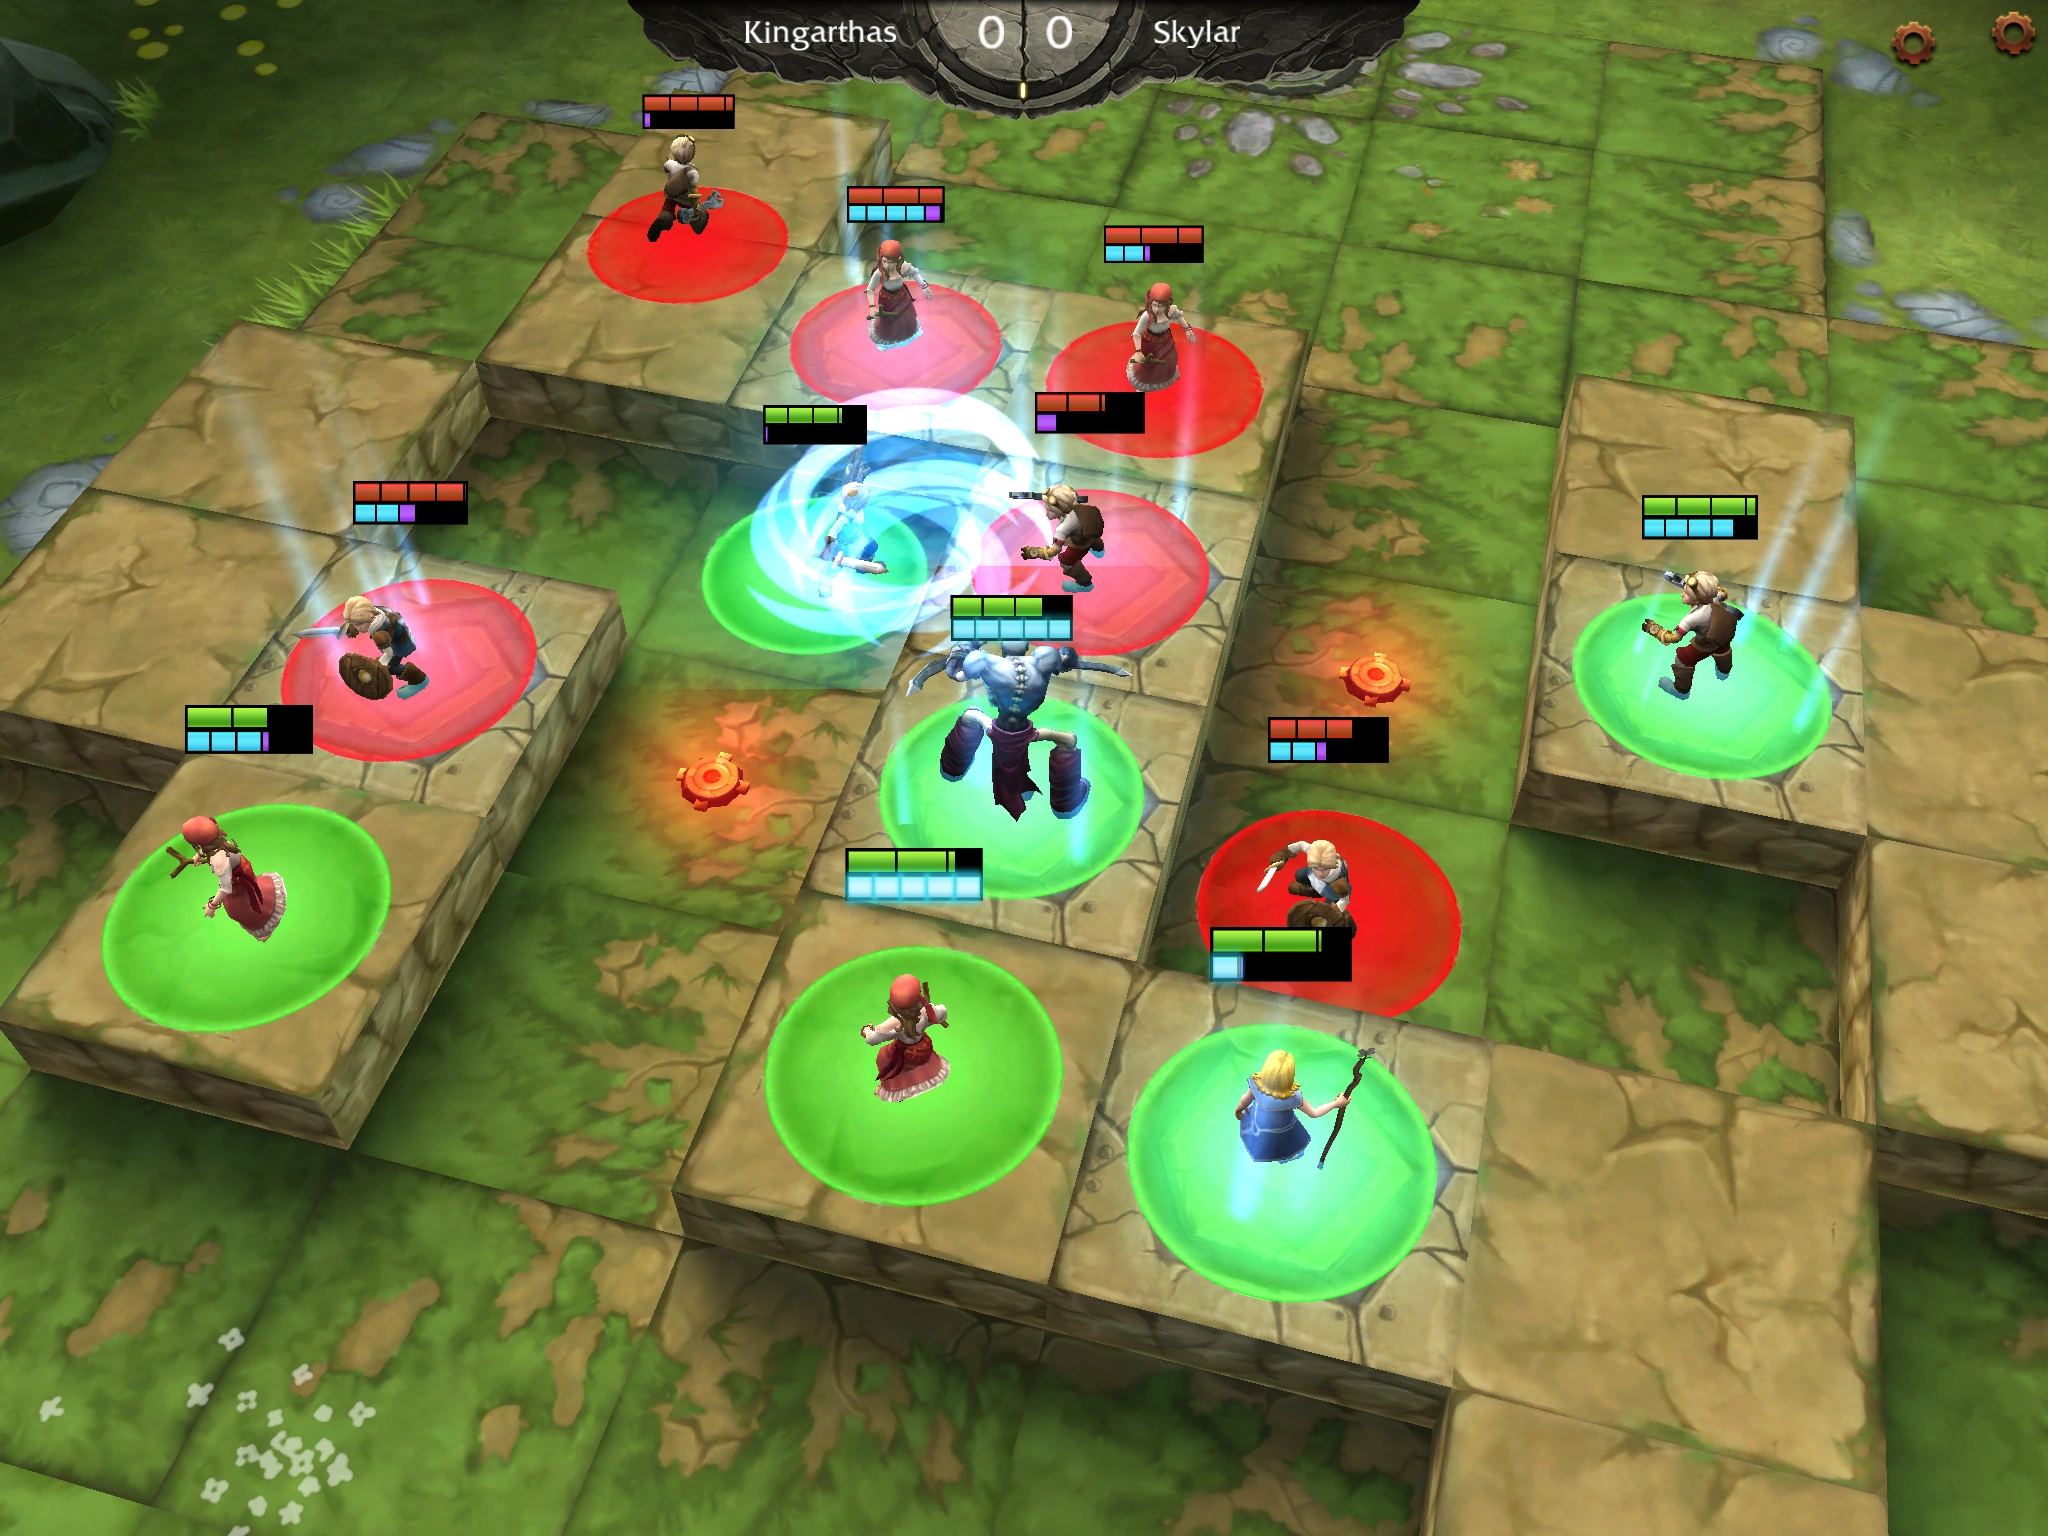
Keep the Apprentice on the Tinker's side, because the Tinker is also a bit more frail than the Squire and can be killed before he gets a mine down in the place he wants, so the Apprentice should keep in range to heal. Alternatively you may want to keep the Apprentice in range of the Ghoul, even though the Ghoul can heal himself with Feast, you often find yourself in positions where you want to keep the Ghoul at 5 to prepare for the last hit Soul Cut.
Healing with Apprentice[ | ]
The two Vagabonds are simply forms of more granular damage output to help get those victims adjacent to your Ghoul to just the right amount of health for your Ghoul to get the last hit. Nothing is more frustrating than seeing a low-health enemy survive with a sliver of health after spending all your energy on a big Soul Cut swing.
How to Soul Cut[ | ]
Opener[ | ]
The Opener is the first series of movements your army makes once the battle begins. The opener can be crucial to gaining the early advantage in a battle. The point of an opener is to position your Champs in locations where they can best accomplish the above strats.
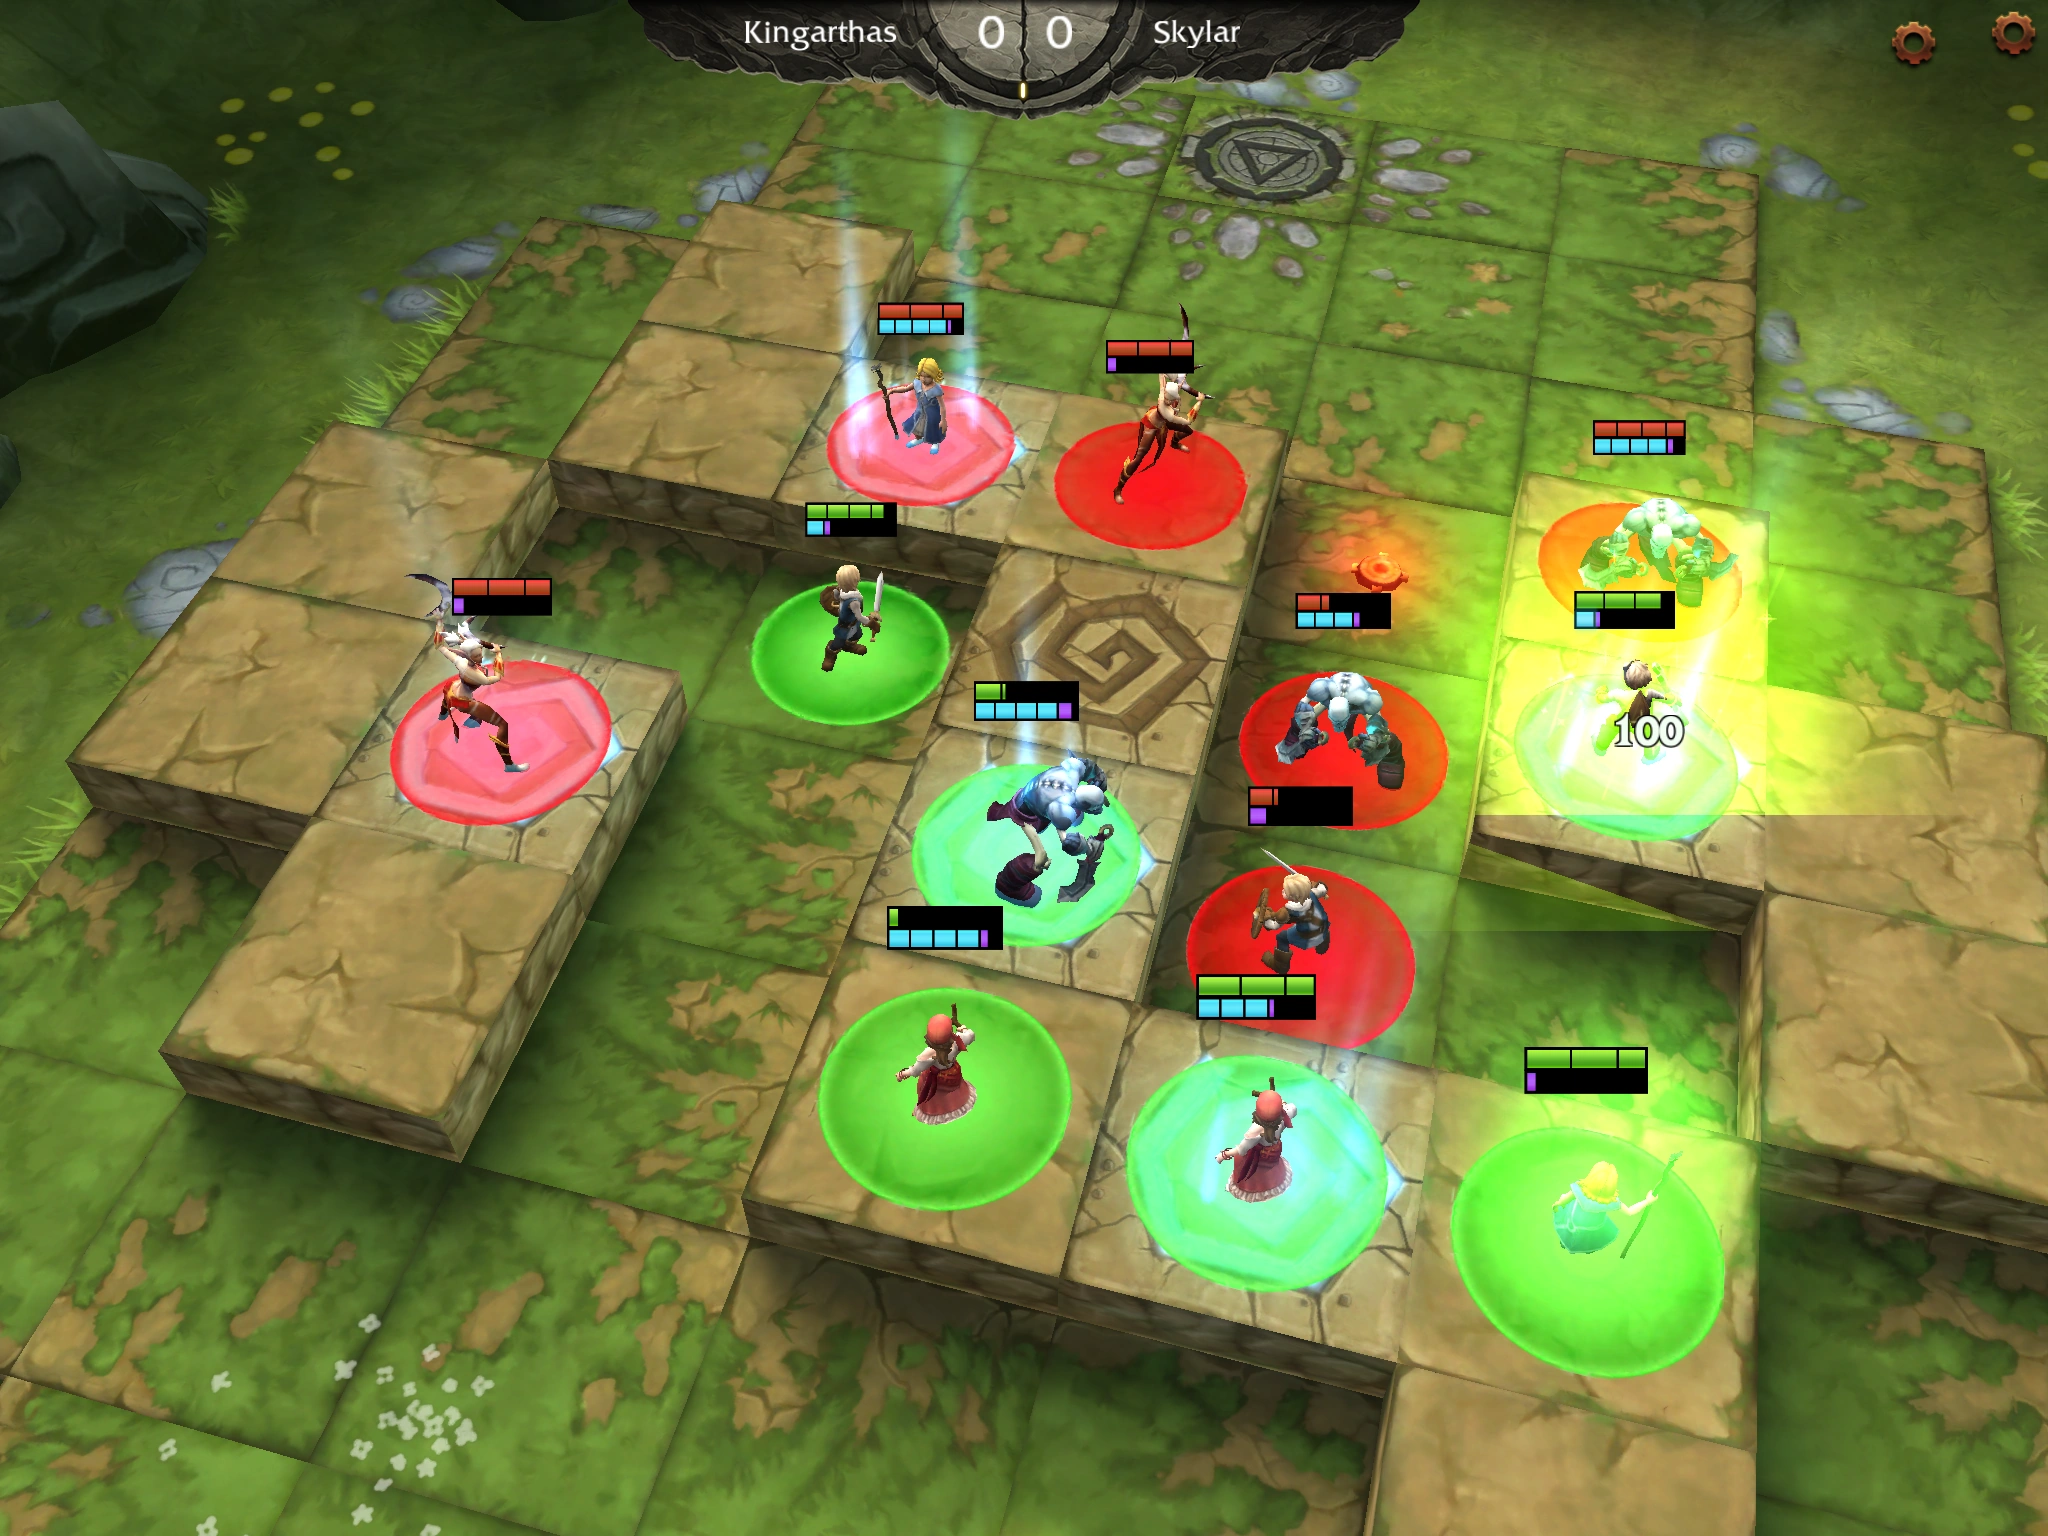
As mentioned before, the Ghoul should just get to the energy tiles at the middle of the battle asap.
The Tinker should also get to an energy tile that can place mines on empty tiles near frontline enemies. These energy tiles are often a couple of move spaces away, if this is the case, try to use closer energy tiles as a stepping stone to keep your Tinker's energy high as he moves closer to his goal.
The Squire should move to whatever location you predict will be adjacent to the enemy that will be knocked back into the mine. This is a little tricky and often requires a movement or two extra on the Squire's behalf to align correctly for the Squire/Tinker combo. The Squire will most likely end up on some low ground, non-energy square adjacent to a middle energy square occupied by an enemy. It's a sucky spot, but sucky spots are the Squire's bread and butter, as they are often near a high-value location occupied by an enemy that the Squire is just itching to push them off of.
The Apprentice should ideally be in an energy square near your back lines where she can effectively heal the majority of your Champs. If you find her out of range to heal, you may have to sacrifice this location for a high ground spot closer to your hurt units, or, if she's still in range of using her Firebolt on an enemy, forgo her healing role and try to nuke down an enemy quickly for an easy kill.
The Vagabonds are more flexible in that they just need to occupy any high ground in range of an enemy (preferably the one you want to plink down for your Ghoul).
End Goal[ | ]
The name of the game is "Stack the Ghoul." Get your Ghoul at least 1 stack in good health and he'll quickly become a major threat to the center of the battlefield. As the battle progresses, you can move away from leaving enemies alive for your Ghoul to hit and just get the kill whenever it's available.
This is a largely Center-focused strat, so if you find yourself not owning the center you may be in pretty bad shape. You can also use your Tinker to wall off sides, so you don't have to worry as much about flanks and force your enemy to move into the territory you want (i.e. in range of your Ghoul).
Ideally, by 5 kills in, you should have a 3 stack Ghoul that's just rampaging all over the other side's turf, while your back line slowly encroaches up the battlefield. Also note that a 3-stack Ghoul gains no more benefits for the last hit, so there is no longer any need for your Ghoul to wait to strike. At this point use your Ghoul to deal the major brunt of the damage, as he should be swinging for nearly 50% more than any other Champ, and use your other Champs to finish off the enemy.
Contributors[ | ]
QuarkGames (talk) 21:26, 23 July 2013 (UTC)Rysorial QuarkGames (talk) 21:26, 23 July 2013 (UTC)Greenthorne